
Click Next
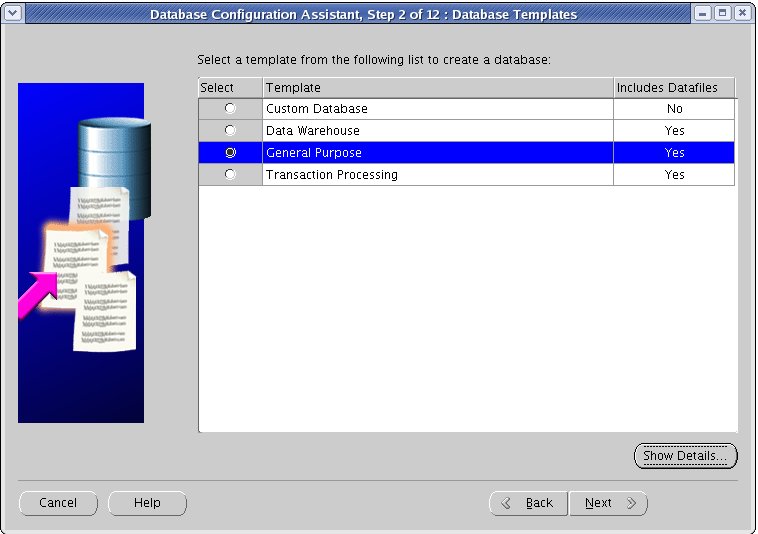
Select General Purpose and then Click Next. You can select the other
option that best suits your application.

Enter the database and instance name. db102
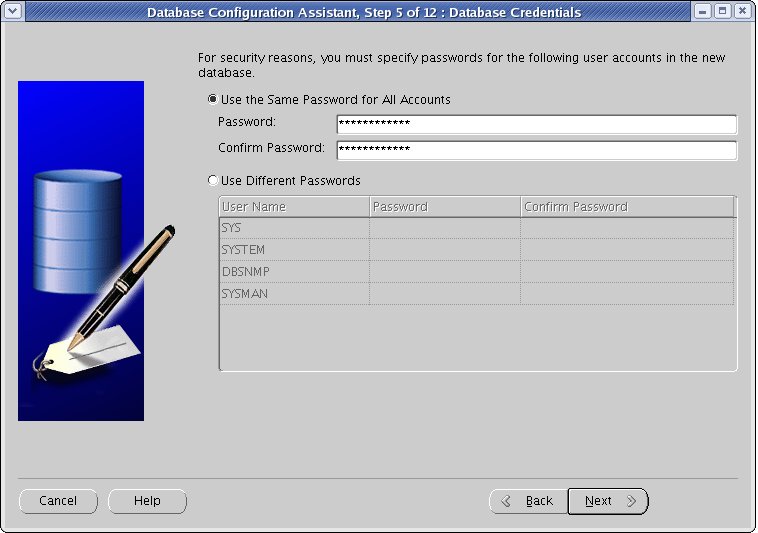
Enter the Password for SYS, SYSTEM, DBSNMP and SYSMAN

Select ASM Option

Enter the Password of SYS schema of an ASM instance.
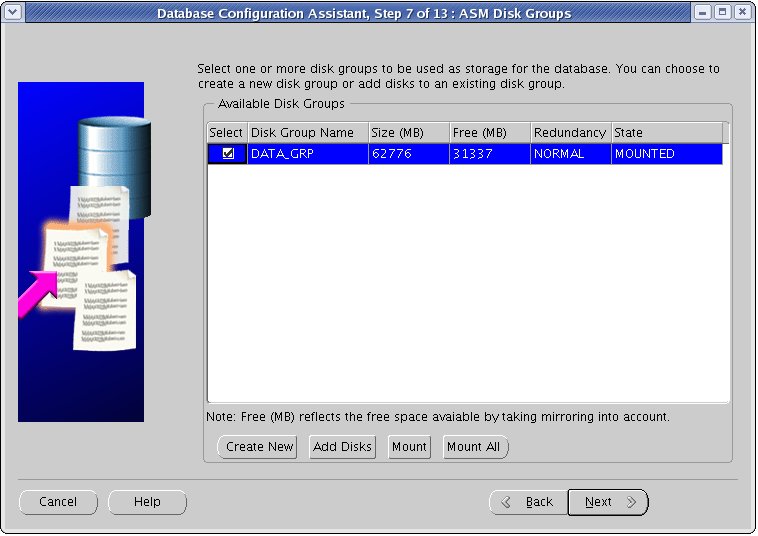
This screen show all the groups that are mounted using the +ASM
instacce. Select one whichever you wnat to have
these database files to be resided on.


CLICK Next

Click NEXT
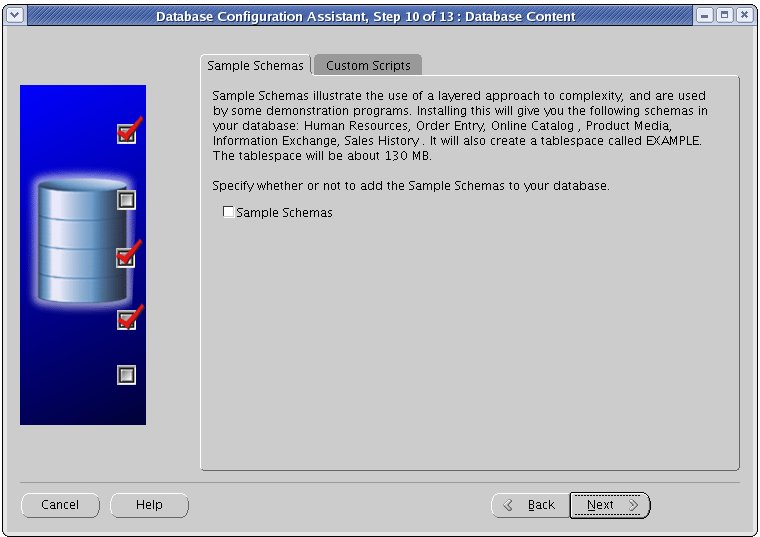
You can select sample schema to be created. If you donot have any
schema 9data) to work /practice on, you can go
for this option.
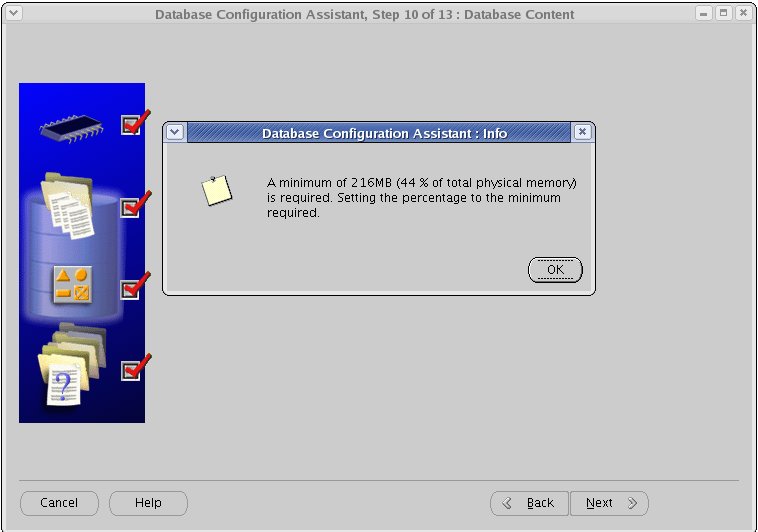
Click OK
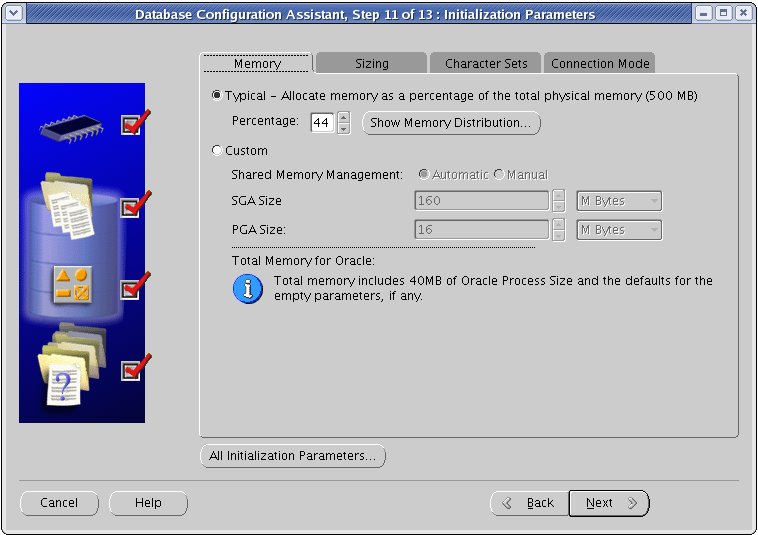
Click NEXT

Click Next
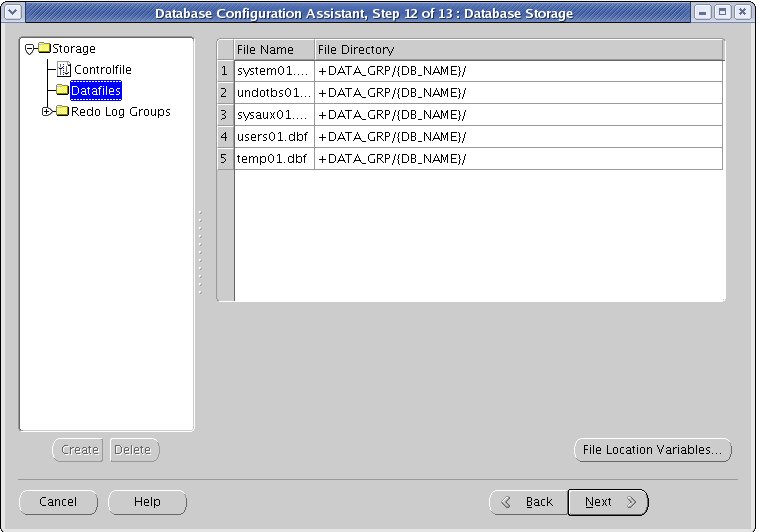
Verify the location of Datafie, controlfiles and logfiles to makesure
that they will be created under the right locaion (group)
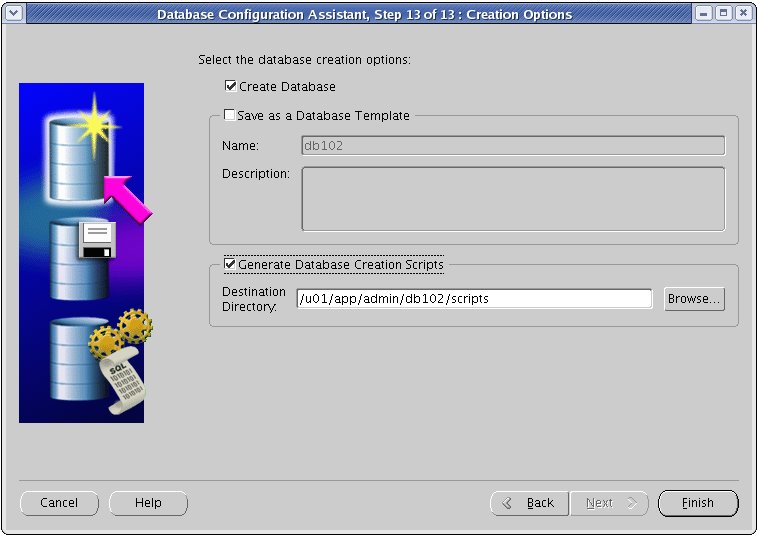
Click Finish
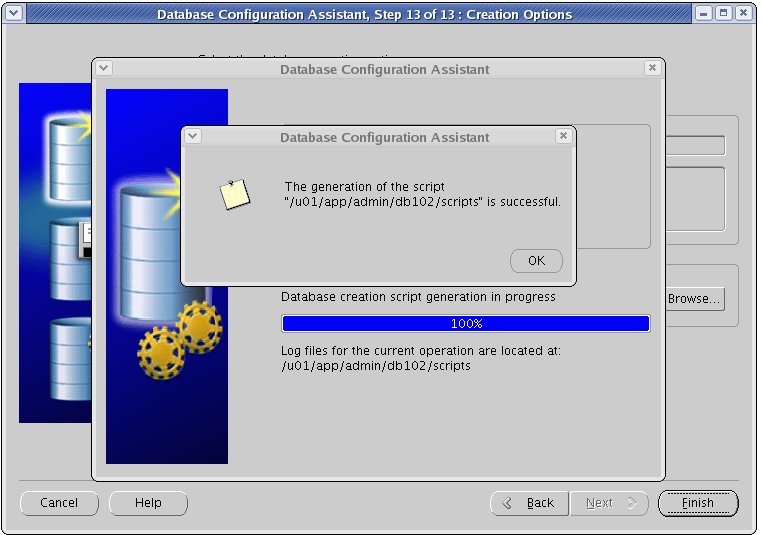
Click OK
CLICK OK

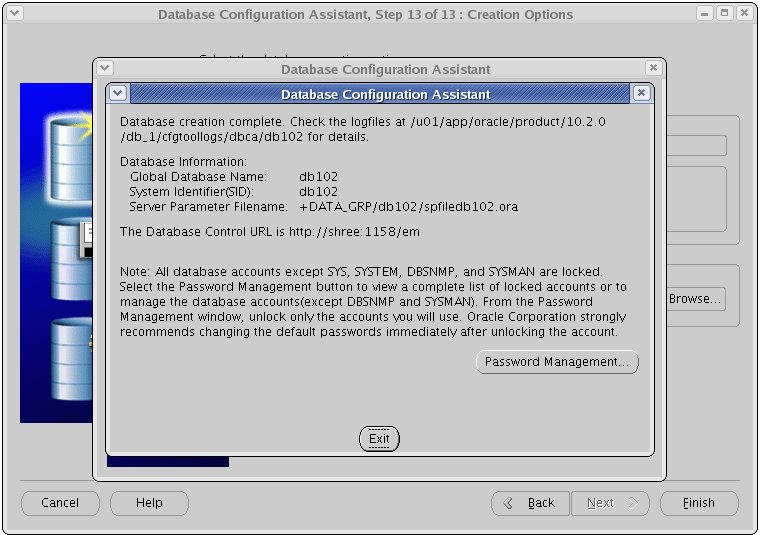 CLICK Exit
