Click Here for the “Step By Step:
Install 10g R2 RAC on Oracle Enterprise Linux 5”
This document explains the step by
step process of Creating Oracle 10g Real Application Cluster (RAC) database
using ASM storage option. In the previous steps, I have installed the Oracle
10g software as well as stamped the physical devices /dev/sda2 and /dev/sda3 as
ASM disks which I have used for storing database files.
Creating Oracle 10g (10.2.0.1) Real Application Cluster (RAC)
Database:
Task List:
Creating
and Configuring Clustered ASM instance and Diskgroups
Creating
Clustered database
[oracle@node2-pub oracle]$ dbca
Xlib: connection to
":0.0" refused by server
lib: No protocol specified
Can't connect to X11 window server using ':0.0' as the value of the DISPLAY
variable.
If you get the above error, please execute the below command as root and then
start the dbca by connecting as oracle.
[root@node2-pub root]# xhost +
access control disabled, clients can connect from any host
[root@node2-pub root]# su - oracle
[oracle@node2-pub oracle]$ dbca
Now follow the steps below:
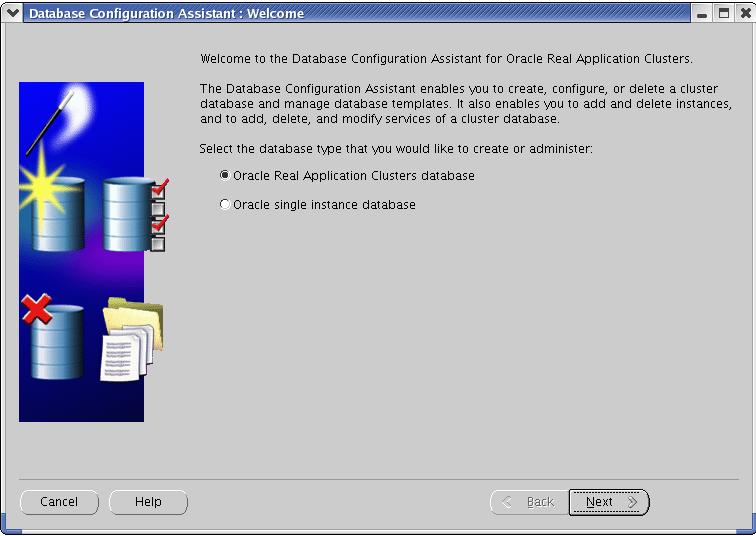
If you do not see this screen after running "dbca", then you need to
make sure that ocssd, crsd and evmd services running under all the nodes.
Please goto Installing
10g R2 Clusterware Software for more information on configuring
clusterware.
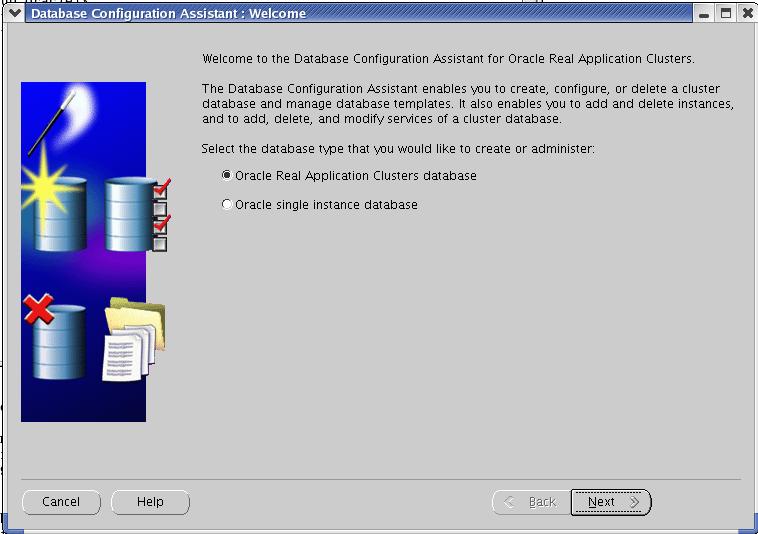
Select "Oracle Real Application Cluster database" option and Click
Next.
Creating and Configuring
Clustered ASM instances and diskgroups:
For detailed information on creating ASM Instance and Diskgroups, please go to Step By Step
Instructions on Creating and Configuring Automatic Storage Management (ASM)
Instance ands Disk Groups using Unix IO as well as ASMLib IO.
I selected "Configure Automatic Storage Management" option to create
ASM instance and diskgroup where the Clustered database files will be stored
in.

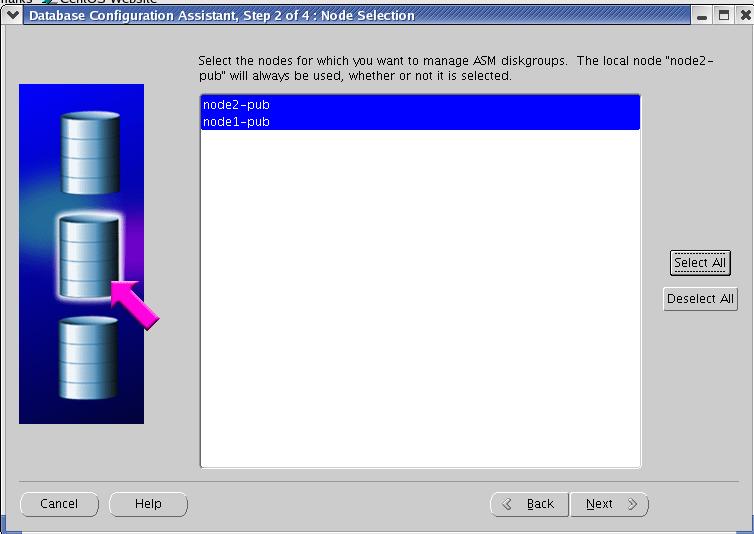
Select All the nodes in the cluster and Click Next.
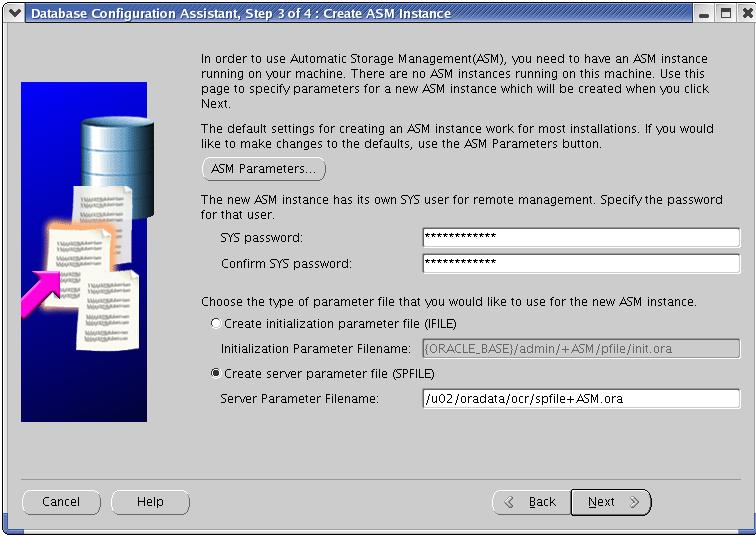
At this step, enter the Sys password for the ASM instance. Also enter the
location of the spfile of init file of the AS instance. If you select to go for
spfile option, then it has to be created on the shared device and must be accessed
by all the nodes in the RAC. I have used the same mount point as OCR file and
VD files are stored. It is /u02/oradata/ocr and is formatted with ocfs.
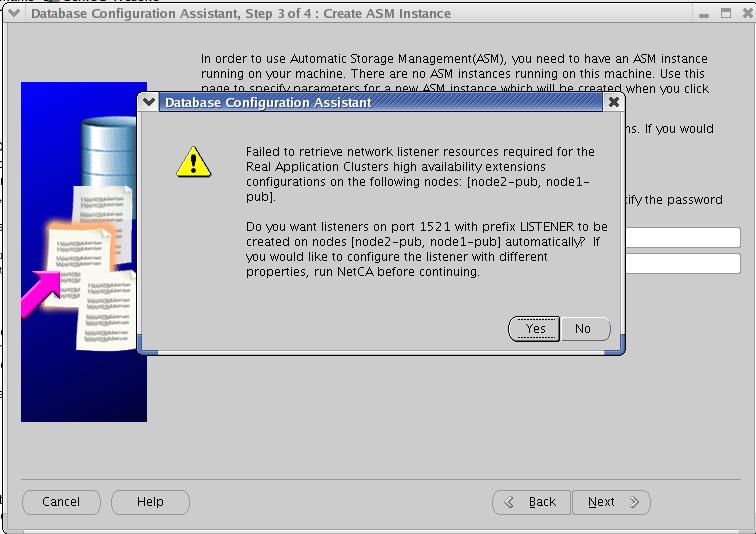
At this time, you may get the below message stating that no RAC listener found.
You may go back and configure the RAC listener using "netca" OR you
can simply select "Yes" and OUI will create one for us. For the
experimental purpose, I selected "Yes". But for my Production
Database at client site, I had configured the listener with the required
properties and security using netca before I reached this step
this step will create an ASM instance for us.

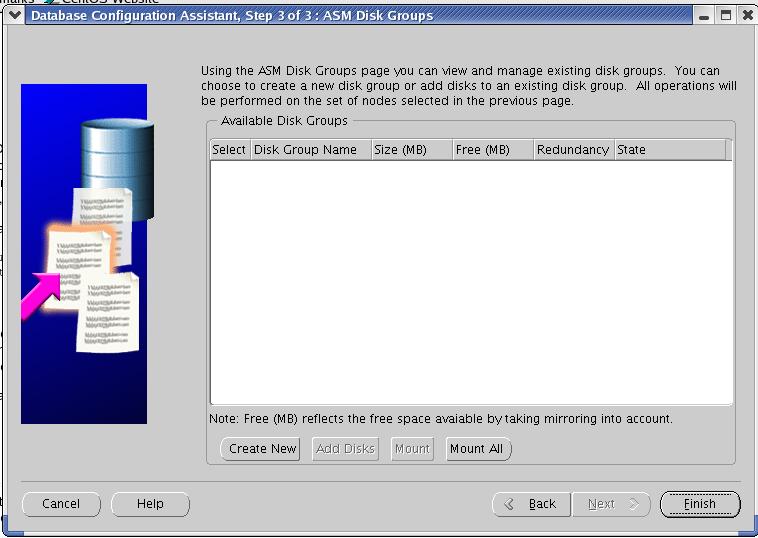
Now the ASM instance has been created but there are no diskgroups created under
this instance. So, the below step allow you to create one for us.
Unfortunately, you do not see any physical device in the below pan. Do not
worry; simply Click the "Create New" button to create one.
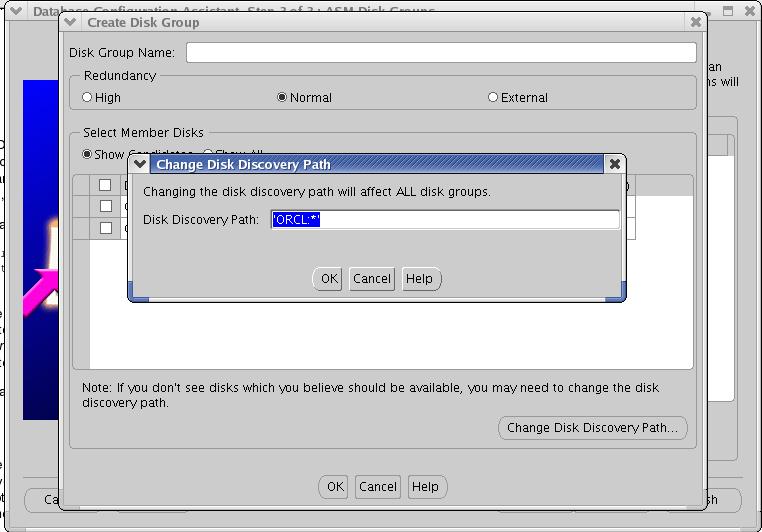
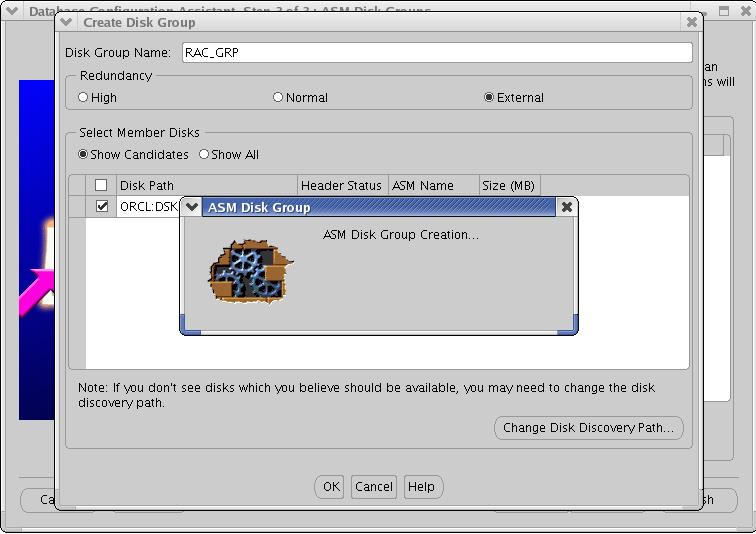
You need to change the disk discovery path to ORCL:* as shown below.
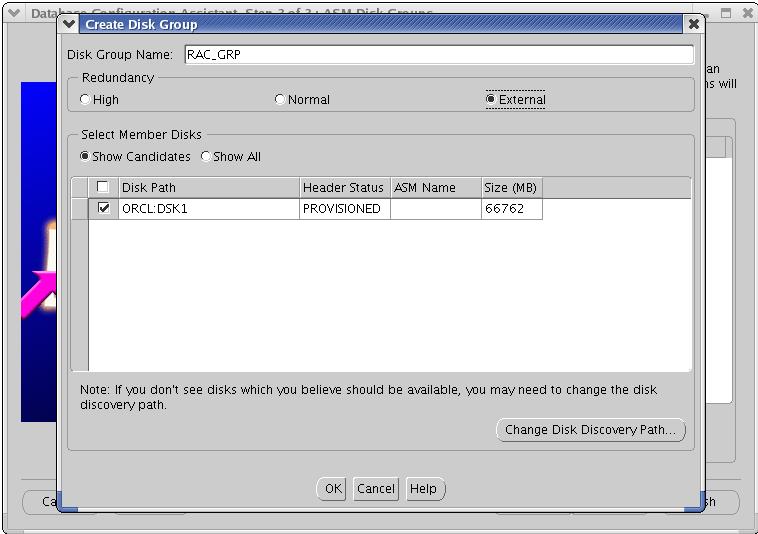
I selected the ORCL:DSK1 disk with External Redundancy. As all the ASM disks
(DSK1 --> /dev/sda2 and DSK2 --> /dev/sda3) are on the same physical disk
(/dev/sda), I have not selected normal redundancy. Also, This is an
experimental RAC, I would not worry about SPF (Single Point Of Failure).
For my production database, I had separate physical devices available for
Normal redundancy set up. Enter the Disk Group Name (e.g., RAC_GRP) and click
Next.
You will see the below screen which is creating ASM diskgroup.
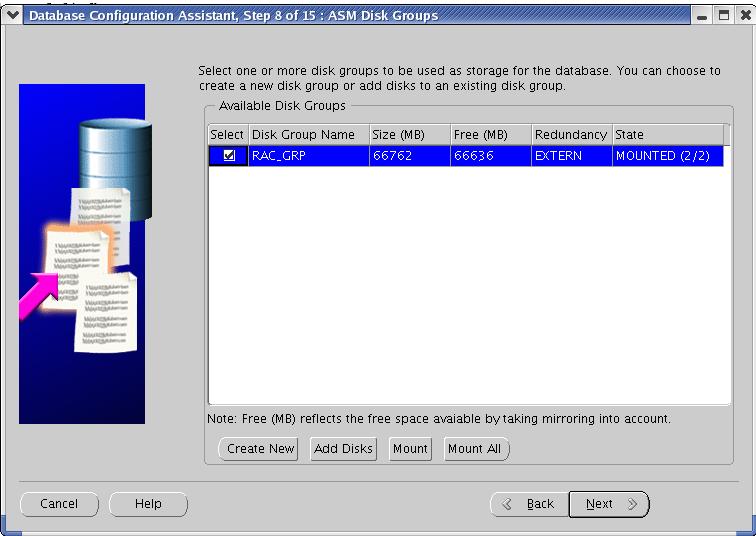
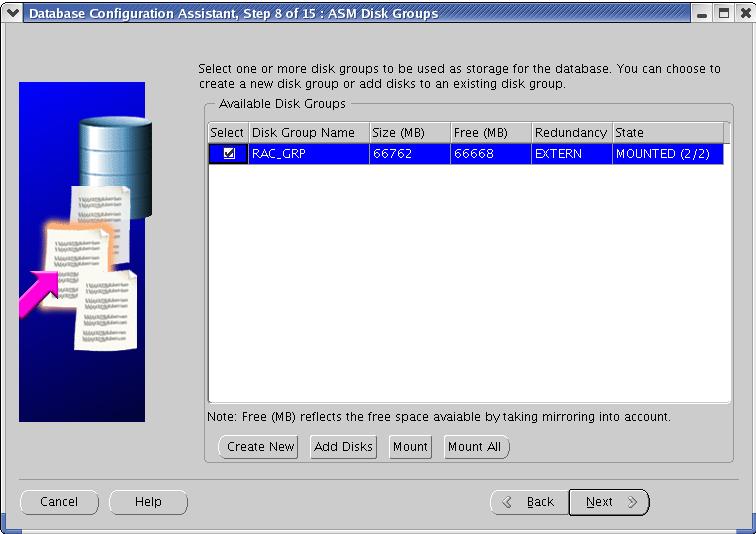
Select the newly created disk group. The state must be "Mounted
(n/n)" for n node cluster. For our case of 2 node cluster, it is MOUNTED
(2/2).
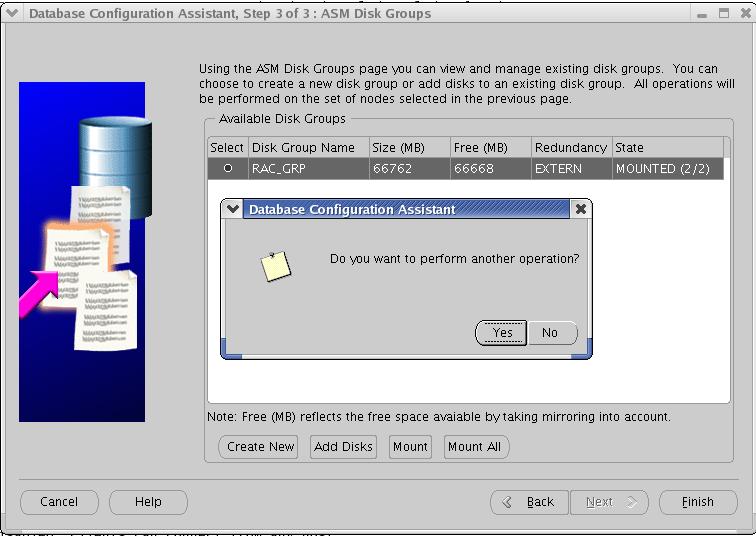
Select No and start exit the Installer.
Creating RAC Database on ASM:
Select the RAC option and Click Next.
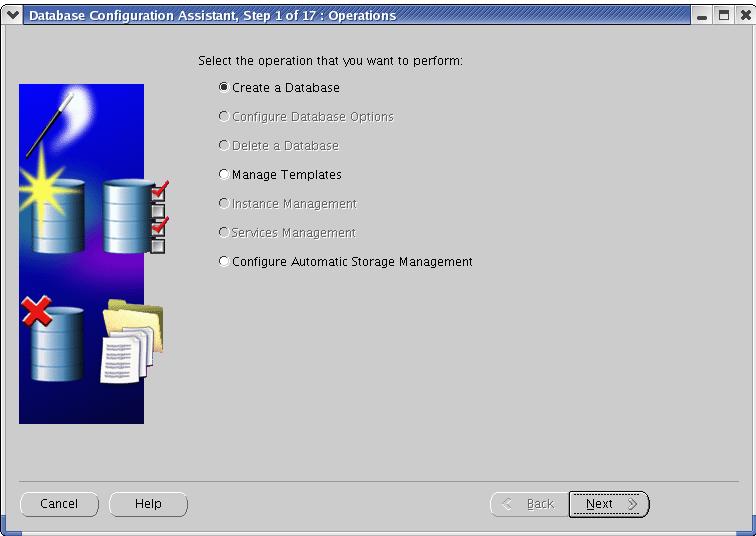
Select "Create a Database" and click Next.
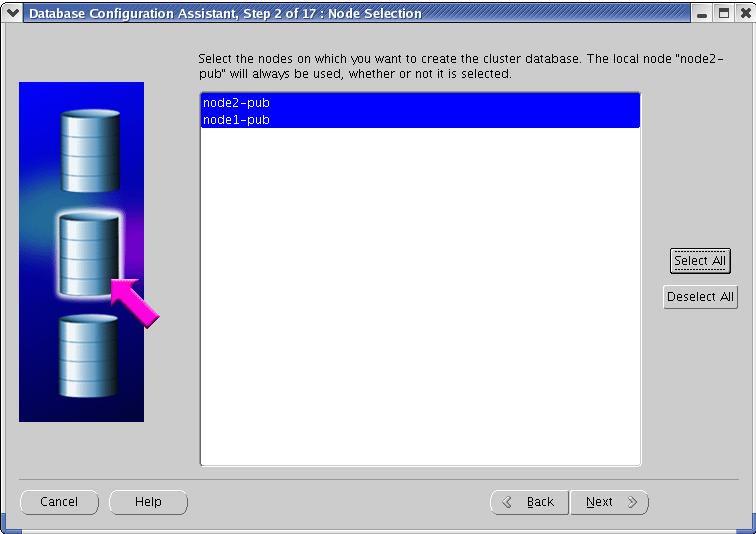
Select all the nodes on which new database will be shared among.
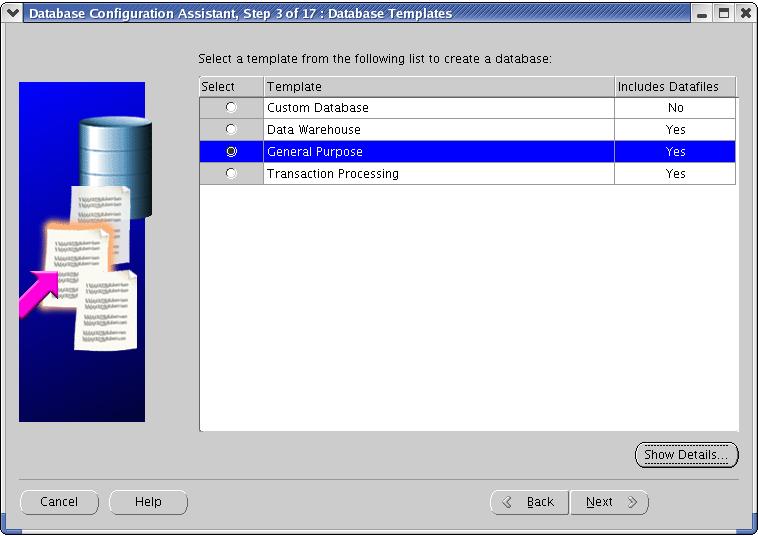
Choose any one of these options. I selected general Purpose database option.
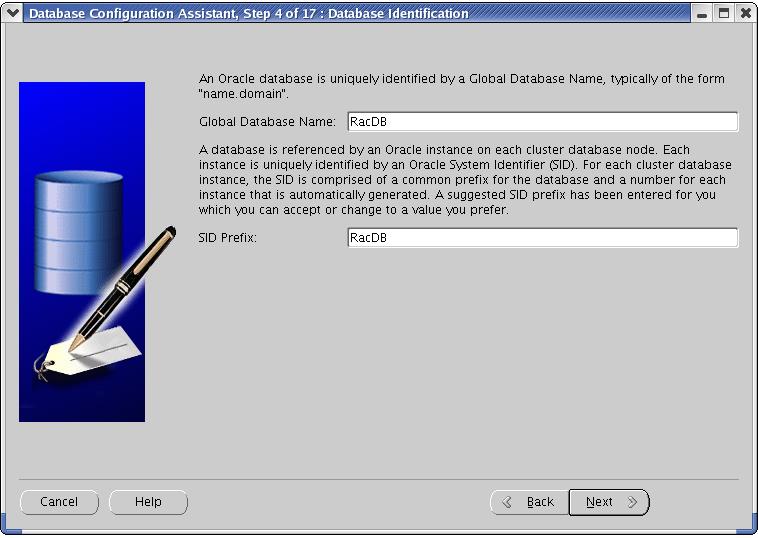
Enter the Global Database name and SID prefix.
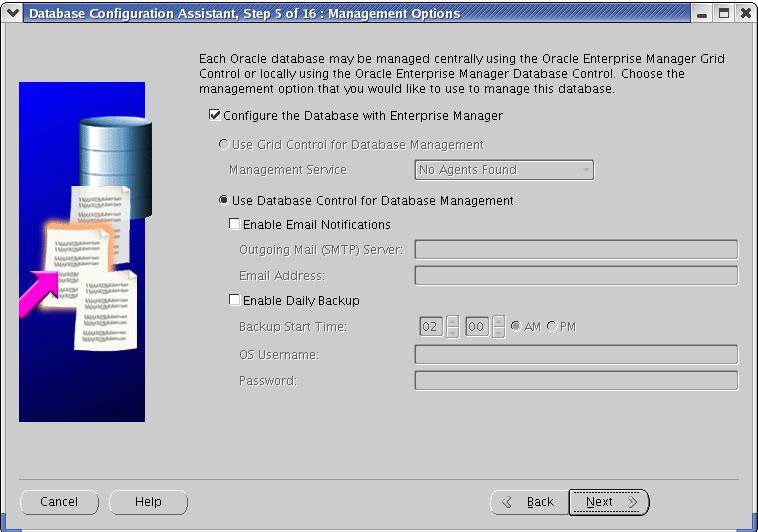
Select Database control for database management and click next.
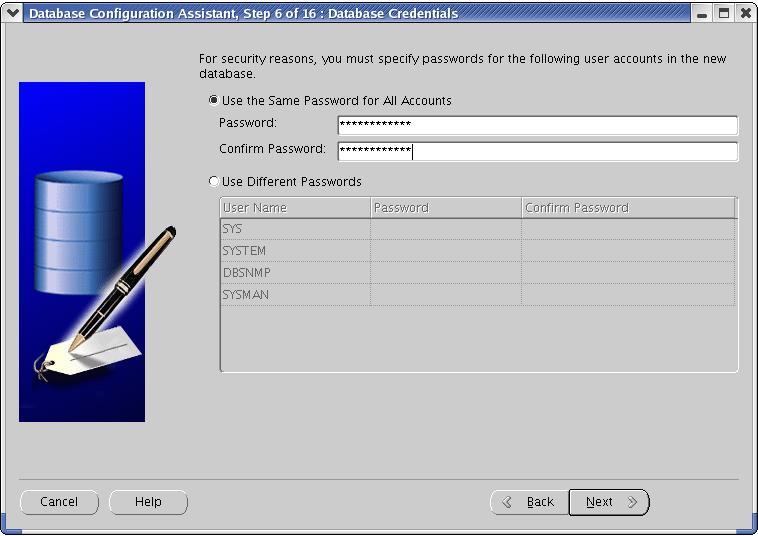
Enter the username and password for the SYS schema for the new database.
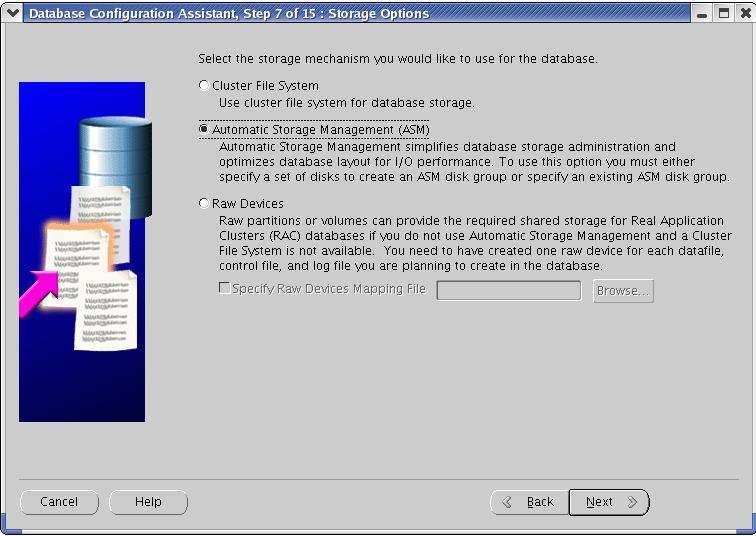
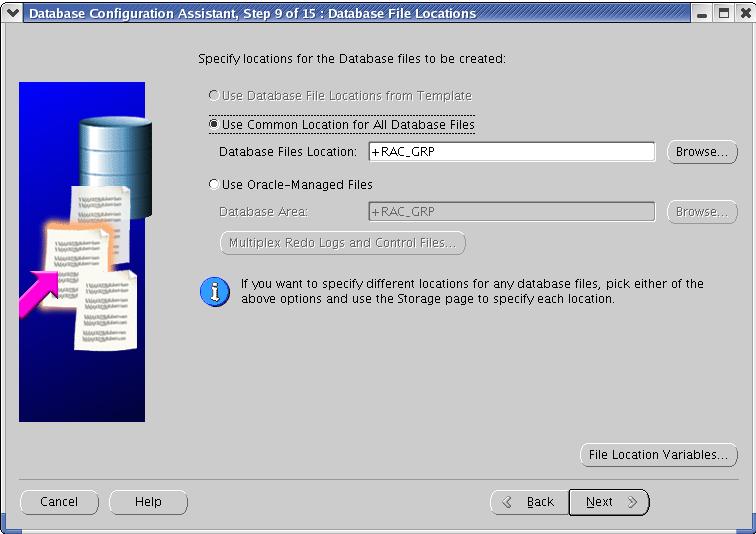
Select ASM as a Storage mechanism.
Select the Disk group where the database files will be stored in. e.g.,
RAC_GRP.
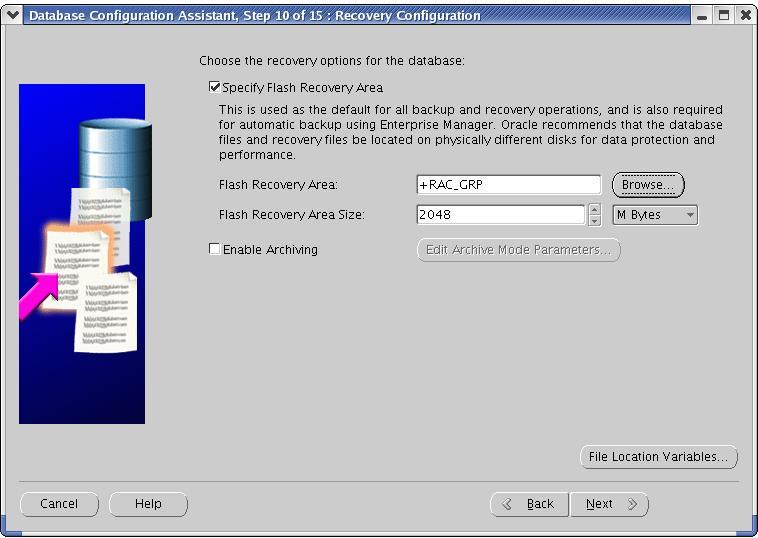
Specify the Flash recovery area.
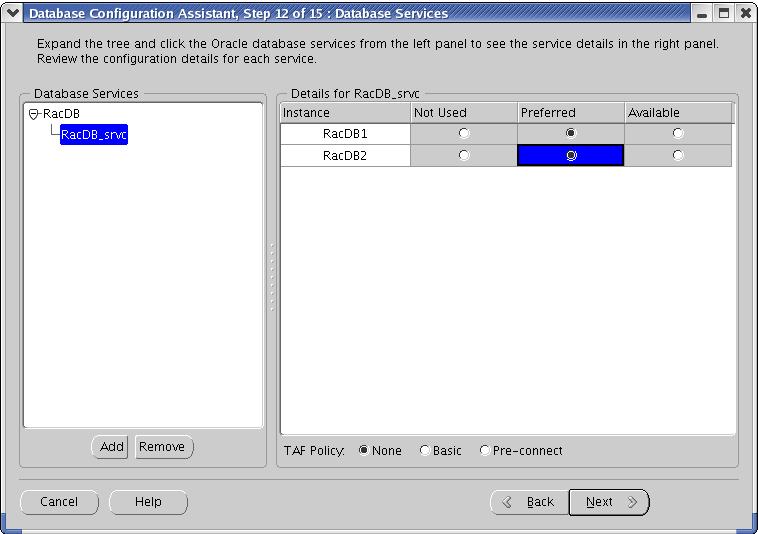
Create the new service for the RacDB database by clicking "Add"
button. Enter the name you like. I entered RacDB_srvc as service name. you
would see two instance name in the right pan as shown below. Click Next.
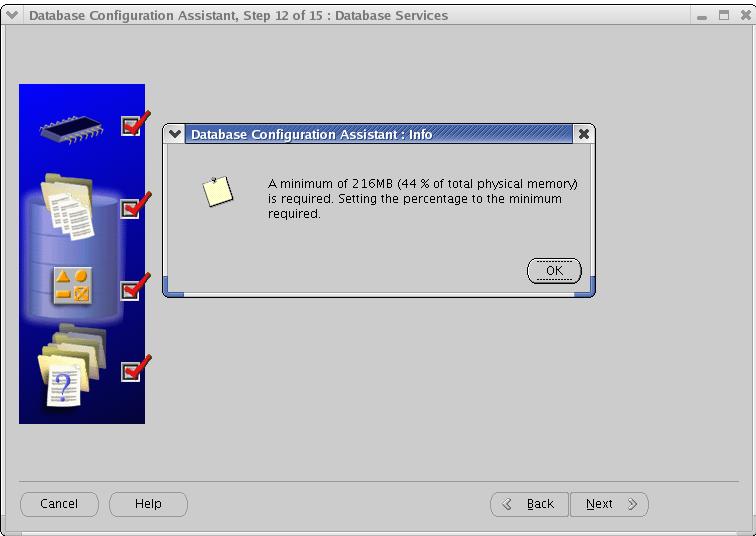
Click OK.
Click Next.
Click Next.
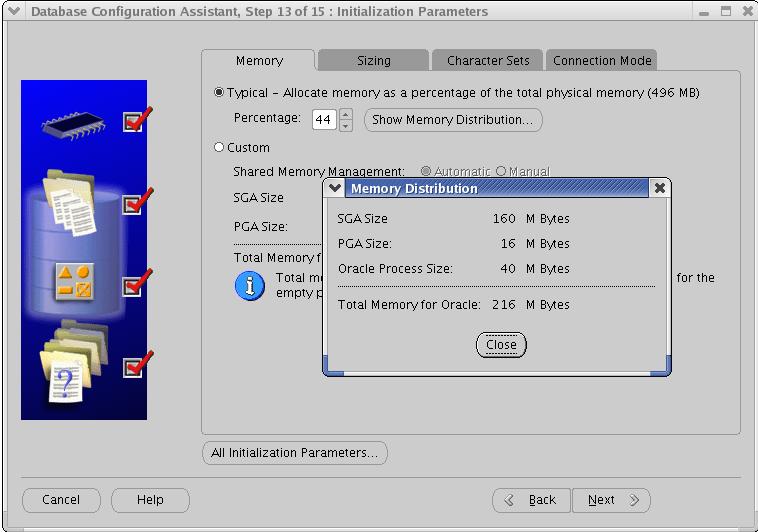
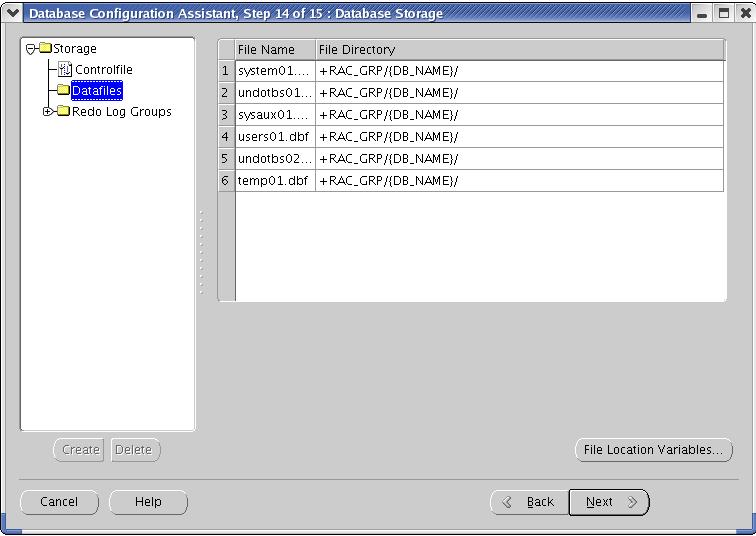
Make sure that all the datafiles, controlfiles and redo log files have right
locations assigned.
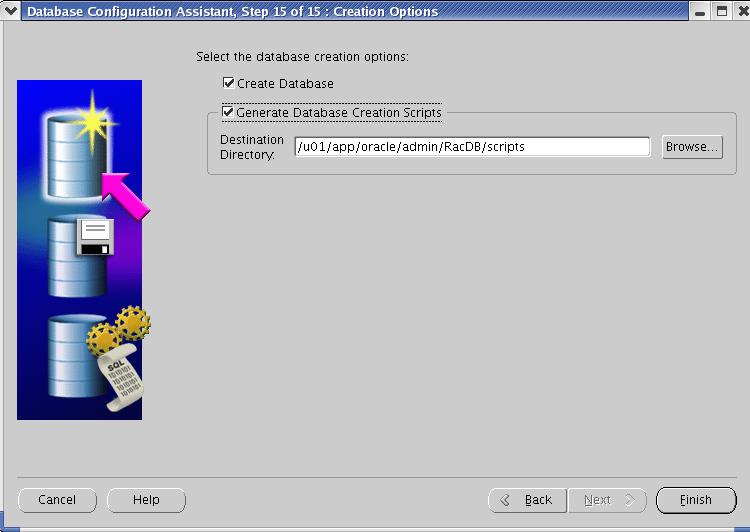
Click Finish
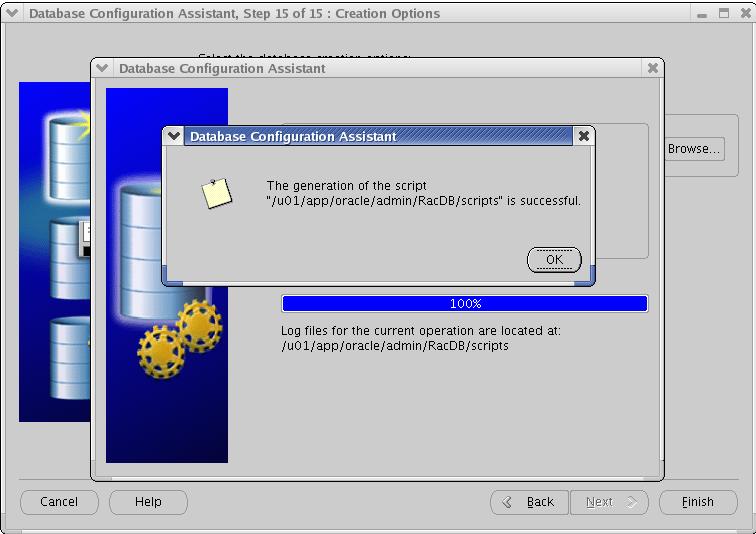
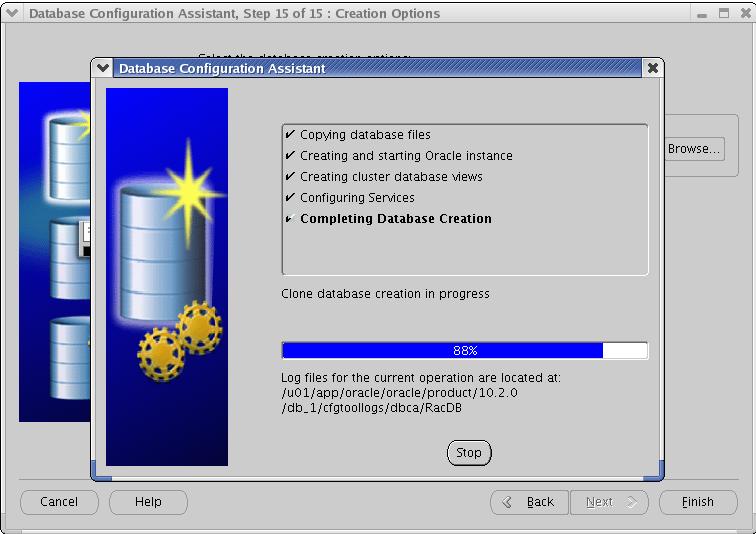
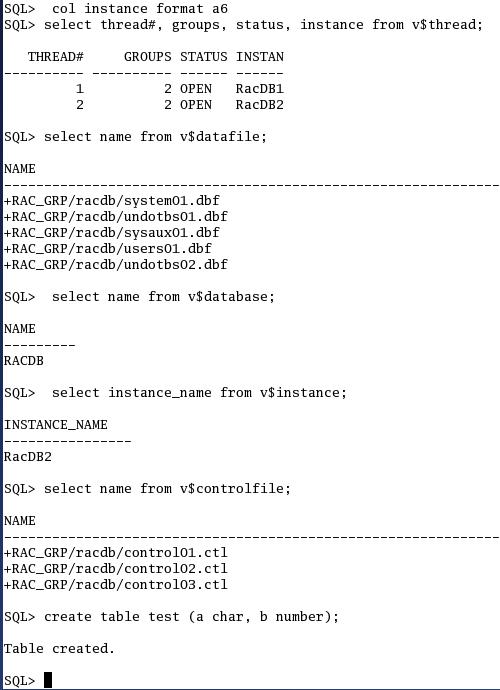
At this time, the database RacDB has already been opened on node1-pub machine
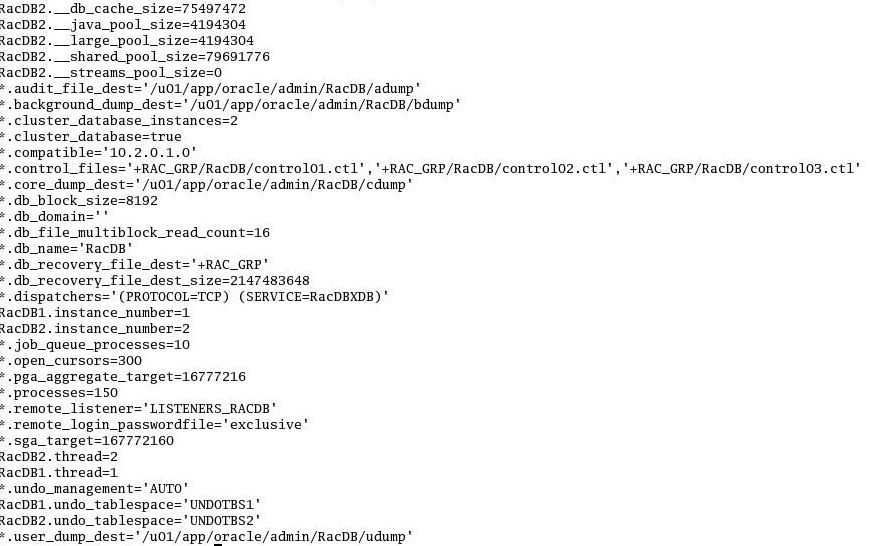
under RacDB1 Instance. Copy the initRacDB1.ora file from node1-pub to node2-pub
in the $ORACLE_HOME/dbs directory (if not existed). Change the contents on this
file to one as shown below and start the database using "startup"
command from sqlplus. This command will start the RacDB2 instance and get the
location of UNDOTBS2 datafile and redologs thread 2 (mounting the database)
member and then opens them (opening the database). The rest of the datafiles
are shared by these two
instances.
At this time, also check the status of the listener on all the nodes.

Make sure that all the nodes are up and running by looking at the below
information from both the nodes.